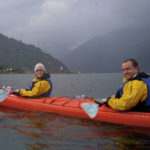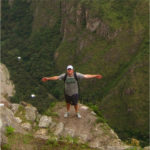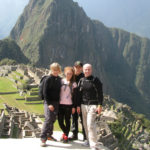
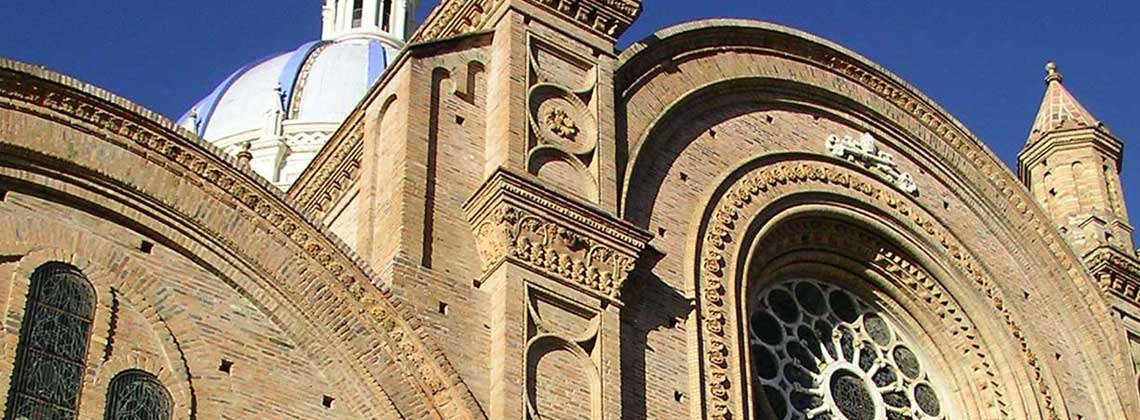


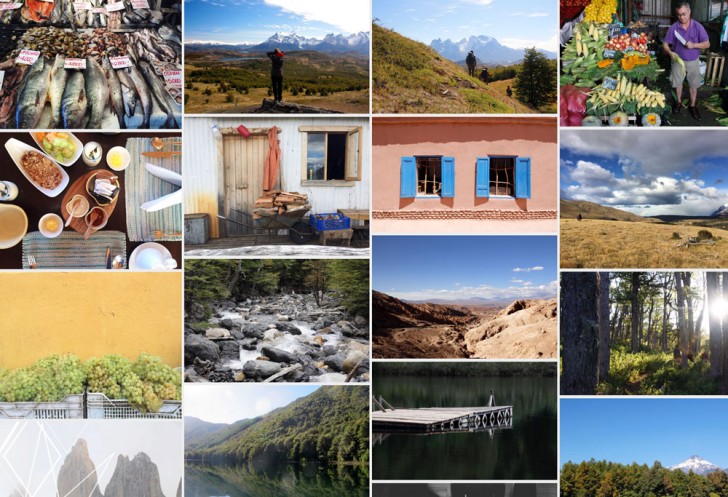
My most recent adventure took me to four different areas in Chile where I not only enjoyed outstanding food and excursions but found time to take a few (hundred) photos as well. One of the most challenging things about travel photography is actually sorting your photos and sharing them – whether that be on social media, via email or in print. The PicsArt app is an easy-to-use photo editor (perfect for traveling or while you’re on the go) that allowed me to adjust, crop, straighten and enhance my photos quickly, so I that I was ready to share them with friends and family faster. Today, the resident photographer at PicsArt, Nanette Wong, will give you an in-depth look at how to edit your travel photos on the go.
PicsArt is a photo editor, collage and drawing app that has everything you need to share your creative identity with the world. It’s a new kind of mobile creativity app that offers thousands of editing tools connected to a global community where you can share, learn and collaborate. Below, Nanette shows you how she eschews a traditional desktop photo editing for advanced editing on your phone.
Tutorial: How To USE PICSART PHOTO EDITOR TO Edit Your Travel Photos On The Go
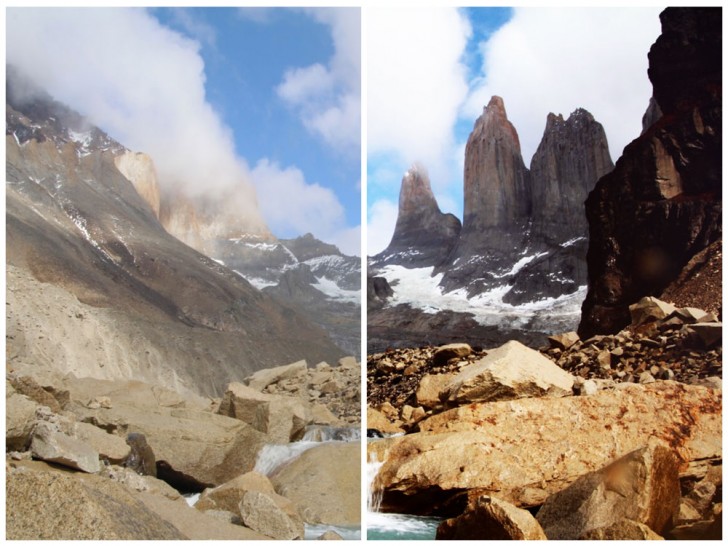
Before & After
While traversing the world, the last thing I want to do is lug around a heavy laptop in addition to all my photography equipment. Fortunately, thanks to the rise of mobile editing on-the-go, my photography workflow has been completely transformed. It’s important to me and my blog readers that I’m able to share snippets of my travels in real-time, and this is where photo editing apps have truly become a vital component of my content process. Today, I’ll show you a before and after of an epic shot from Lisa (Knowmad’s Media Manager), edited on PicsArt.
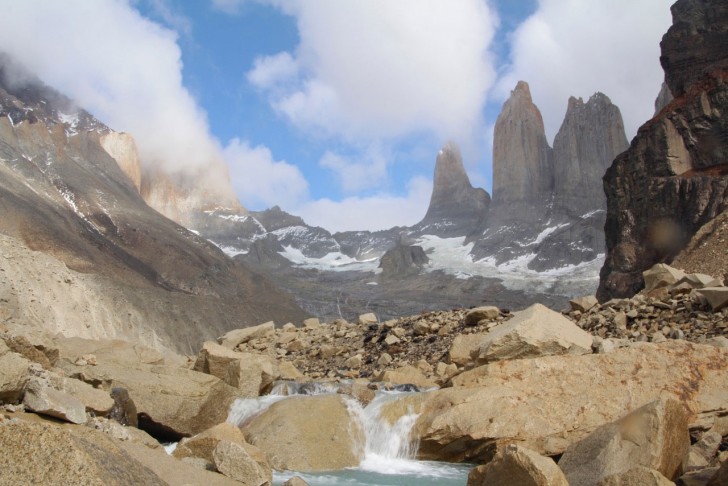
Original Image, Shot by Lisa Kellenberger
When editing photos, I always begin with basic adjustments. Once I open the photo in PicsArt, I head straight towards the Tools section. What’s awesome about our app is the Curves tool, which most photographers are very familiar with. For those of you who haven’t dabbled with the Curves tool, it’s a fantastic tool you can use to change the color, brightness, contrast or even transparency at once.
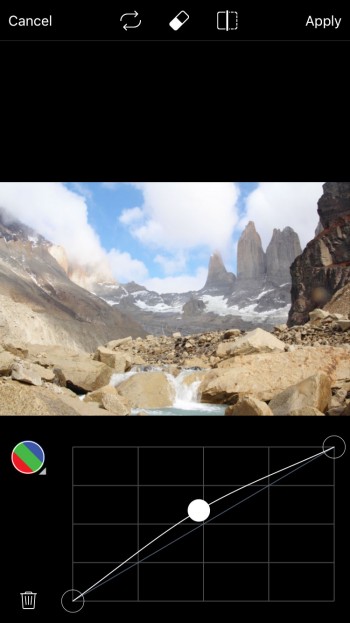
Photo: Curves Tool
After I adjust the curves, I continue with my basic edits. For most photos, if not all, I have a holy trinity of adjustments— brightness, contrast, and lightening the shadows. If the sky is too bright, I’ll also decrease the highlights to prevent the images from looking too blown out.
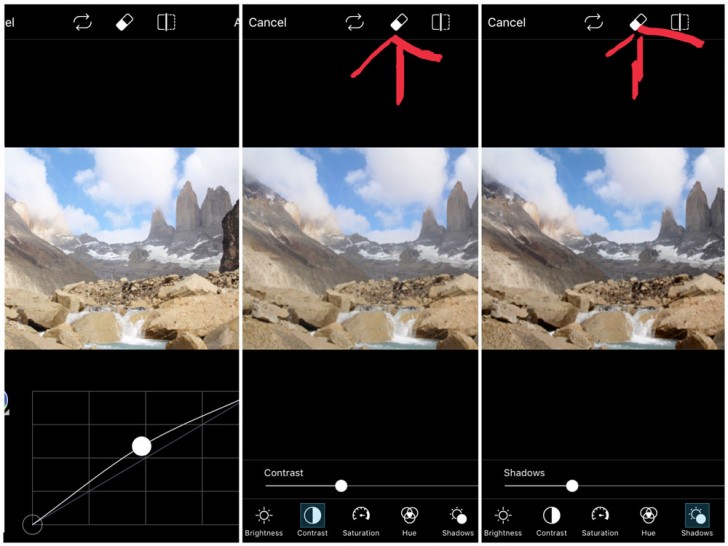
Basic Adjustments
What’s also really handy about PicsArt (and I apologize for tooting our own horn, but it really is cool!) is that you can erase certain parts of your edit. All you have to do is tap on the eraser icon (where the arrow is pointing) to erase the effect of the adjustments on certain parts of the picture. For example, I didn’t want to lift the shadows too much on the clouds, so I tapped the erase icon and erased away the edit on the clouds. Pretty handy, right? This function is available for all tools, from adjustments to filters to masks.
Once I’m done with adjustments, I move on to filters to add that extra oomph. There’s a wide variety of filters to choose from, and I love how I can edit the opacity of the filter. Like Photoshop, you can also choose to Multiply, Darken, Lighten, etc., the filter layer to create different looks.
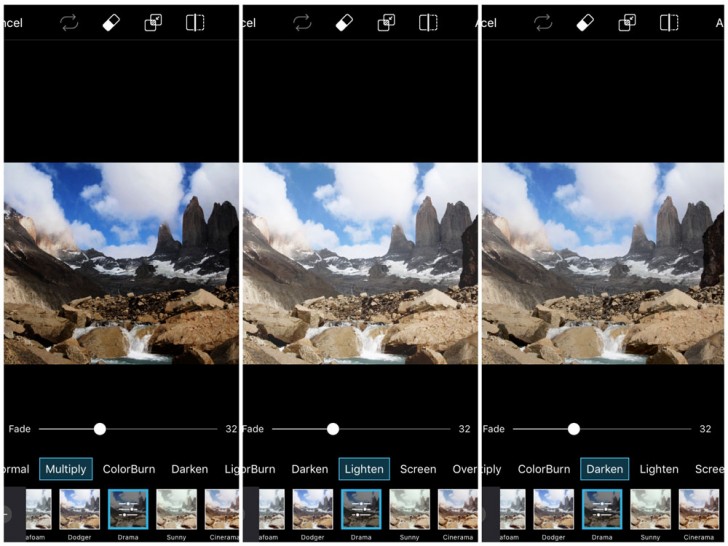
Filters
You can see adjusting the filter layer can result in drastically different looks. And like with basic adjustments, you can also erase part of the filter if you choose to. I decide to go with a slightly faded Overlay version of the Drama filter.
Want to add a little extra? Then try a Mask. The masks offer effects such as Lens Flare or Bokeh when you weren’t able to add it during shooting. I played around with the Lights Mask, which is inspired by a light leak in film cameras to add a slightly surreal touch.
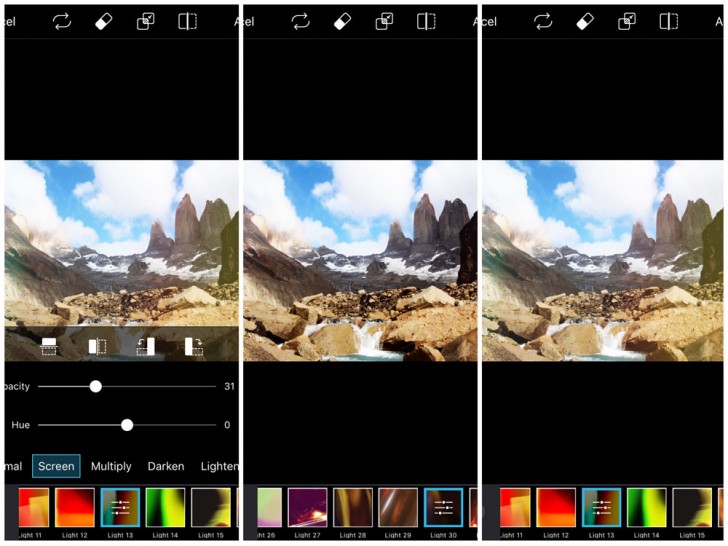
Masks
With over 30 different options, and the ability to adjust opacity, hue, and angle of the masks, the hardest part is choosing what you like the most! After playing around with the different options, I went with Lights 13. Most people find a few masks they like and stick with it to create a signature look. I adjust the opacity to create a more subtle look.
And voila! The final image.
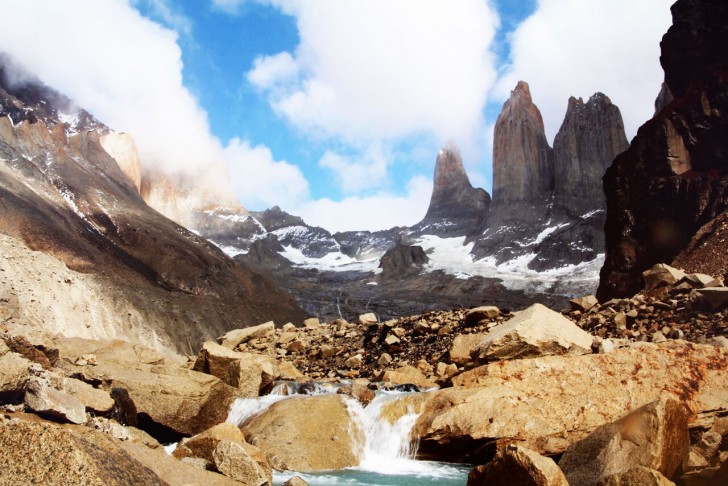
Final Image, The Top of the Base of the Towers Hike in Torres del Paine National Park, Chile
Take a look at Lisa’s article on the PicsArt blog, “Travel + Being in the Moment: Photography On-The-Go Tips” for practical information on travel photography (even when you’re not a pro). If you’re ready to start editing, click the link to download the PicsArt app.
Hasta Pronto, Knowmad Adventurers
 Knowmad Adventures works closely with independent-minded travelers creating innovative trips to South America. Our specialists in Patagonia, Chile, Machu Picchu, Peru, Argentina, the Galapagos Islands, Ecuador and Antarctica are eager to collaborate and create a trip as unique and authentic as you are, and our experienced South American operations team guarantees you get an insider’s perspective, superior values, and a flawlessly operated trip.