


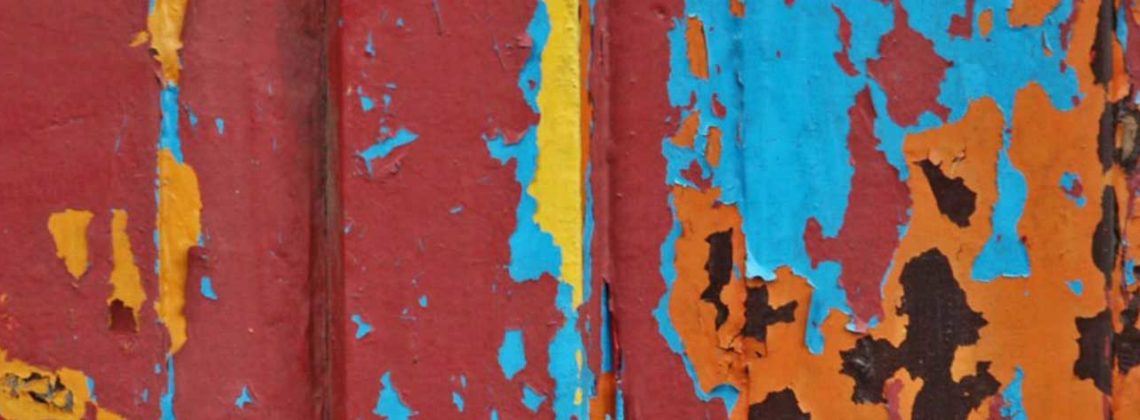
Truth: Great photos have very little to do with the camera and almost everything to do with the photographer. Even with the fancy Instagram filters and the handy “enhance” button on iPhoto, it’s the person behind the lens that’s making the difference between a mediocre image and a masterpiece. I’m nowhere near the masterpiece side of the spectrum, but can offer a couple of tips on photography for the amateur photographer looking to experiment with their SLR camera on their next trip abroad.
Preparation
Do some generally house cleaning on your camera before your trip to make sure you’re not fiddling with settings during and missing that once-in-a-lifetime shot. This probably will involve getting out that manual that’s at the bottom of some dusty closet.
1.Make sure your image resolution is set to a high quality (and bring extra memory cards). A raw file is really big and includes lots and lots of detail – mainly professionals use this. A hobby photographer will most likely just want to set it at the highest quality jpeg format possible so you won’t have to bother using software to convert it once you get home. Just make sure it’s high quality (at least 350 dpi for about a 8.5” x 11” size). There is nothing worse than wanting to blow up that favorite image to frame only to find out it will be too pixelated if enlarged.
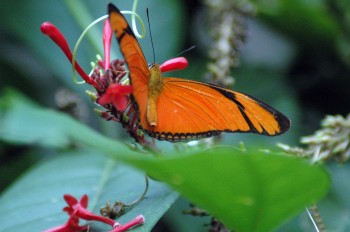
2.Figure out how to set your focus modes. It can be so frustrating when your camera is trying to focus on a leaf that’s in the foreground, but you really want that butterfly sharp in the center of your shot. Most cameras are automatically set to AF-A or auto focus automatic in dynamic mode, which typically chooses the closest subject to the camera to focus on. My rule of thumb is to turn dynamic mode off and set the focus point in the center. Even if you’d like to place your focus object in the upper left corner of your frame, you can just depress the shutter button slightly so the focus locks onto the subject, then move your camera so it’s framed correctly, and click. Also, I set my mode to automatically be AF-S or auto focus single (good for still subjects) and will toggle between that and AF-C or auto focus continuous (for moving birds and such).
3. Make sure you’ve got all your camera gear packed. Here are some must bring items:
- Camera with strap attached & lens cap
- Filters: polarized and a simple glass one to protect the lens
- Flash
- Battery charger with plug converter (for specifics on electricity in South America visit the FAQs section of our site)
- Extra battery if you’re traveling remotely and won’t be able to recharge
- Extra memory cards
- Tripod
- Camera bag (Bring a dry bag on trips to the Galapagos Islands or the Amazon where you’ll likely be getting in and out of boats. Throw a small pack towel in there to absorb any humidity.)
Photography Basics
1.Hold your camera from beneath with your arms close to your body. (This not only minimizes movement, but also prevents you from looking like a total rookie!)
2.Use a tripod when possible, especially in low light situations. I’d be shamed if I didn’t throw this tip in there but honestly, I hate carrying these around and setting them up, so see “Getting Started” below for some shooting in lowlight tips without a tripod.
3.When shooting outdoors, use a polarizing filter. This will reduce glare and enhance colors. They’re not the cheapest things out there, but well worth it.
4.Don’t go through and delete photos one at a time (although it’s tempting!). This is hard on your memory card. Instead format the card after you’ve loaded all your photos onto your computer.
5.Cameras are all about light. In fact the word photography is a combination of two latin words; foto, which means “light,” and grafis, which means “control.” We essentially control the way the light enters the camera in two ways:
- With the aperture or the size of the opening. The smaller the opening, the bigger the value. Ie. F8 lets in less light then F4.
- With the shutter speed. The slower the shutter speed, the more light that is let in. However, this is measured as 1 over a value. Ie. 1/1000 of a second. So when looking at your camera, the bigger numbers are really the faster shutter speeds and let in less light.
6.ISO is another method photographers use to manipulate light. Going back to the good old days of film, the ISO is basically the sensitivity of the film to light. In a digital camera, when you change the ISO value you’re changing the sensitivity of the sensor used to record the image.
Getting Started on Digital SLR Photography
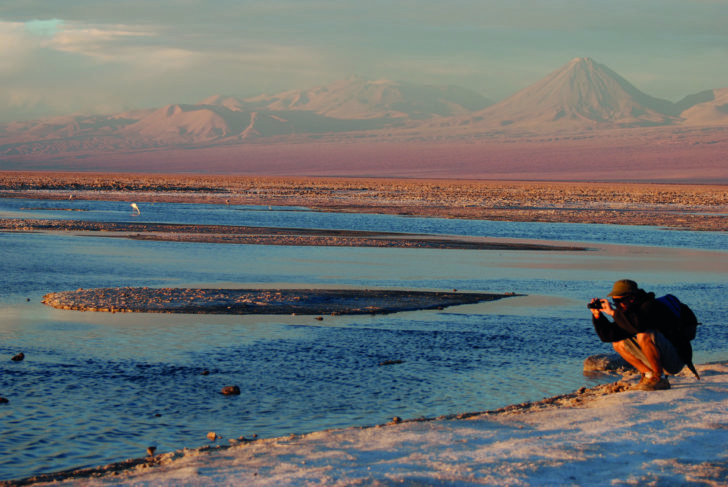
The secret to becoming a good photographer is to play. Your mind won’t intuitively calculate the aperture, shutter speed and ISO settings that your camera should be set on until you’ve fiddled, fumbled and practiced over time in lots of different situations. But don’t stress – because this doesn’t happen overnight and, realistically, no amount of classes or blog posts will make up for experience. Think of your upcoming trip as the perfect opportunity to launch this new hobby. Not only will you have a multitude of new and foreign subjects just begging to be captured, but you’ll most likely see a lot of photographers (from amateurs to pros) during your travels. Don’t hesitate to ask them for a tip – they can be a wealth of information. Try to capture that soft orange sunset, but don’t forget to sip that glass of vino too, and enjoy the moment for what it is.
1. A great place to start is to play around with taking shots on each exposure mode:
- M – fully manual: Save this one for the end of your trip, once you’ve gotten to know your camera better.
- A – aperture priority: In this mode your camera automatically calculates the shutter speed for you and you’re only adjusting the size of the opening through which the light comes through. Experiment with this setting to achieve a focused subject and blurred background.
- S – shutter priority: Here your camera automatically calculates the aperture and you control the shutter speed. This mode is great to play with when shooting moving objects.
- P – program mode: You can change the focus point, ISO and flash. Works best with still subjects and when you’re using your flash.
- Automatic: Don’t feel guilty switching your camera over to automatic every once in a while or even for a couple of days for that matter. It’s your vacation after all!
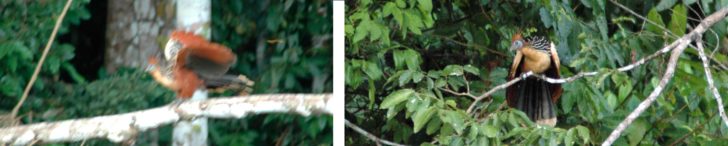
2. Taking a shot of moving objects in low light situations: One of my first “Aha!” moments was on a vacation in the Peruvian Amazon. I was trying to take a photo of Hoatzin, also known commonly as a Stinky bird, because they defecate when scared and I couldn’t get a clear shot. My shutter speed was too slow (I was trying to let in enough light) so any movement the bird made was detected. I asked a fellow traveler, and he directed me to set my camera on S or shutter priority, and quicken the speed, while increasing the ISO or sensor’s sensitivity. I was careful not to go past 800 or the image became too grainy. And there you go!
 For great shots from Knowmad travelers be sure to visit the Parting Shots section of the blog and for some “best of” photos from South America check out these albums.
Un Beso, Tara
 Tara is the Co-Founder, Marketing and Operations Manager at Knowmad Adventures, a company dedicated to creating unique, private and custom trips in South America. She first traveled to South America in college and is endlessly inspired by the cultures, food, colors and idiosyncrasies she discovers there. Read Tara’s biography and more about the Knowmad team.